This week on our biweekly segment with The Morning Show on News 15 we featured a super cute and easy homemade rocket craft as well as a simple noise maker you can make with the kids to celebrate this Independence Day. They will also make great decorations for your family celebrations!
It is always a fun filled morning in the studio with News 15 and I truly enjoy preparing for the show each week. Check out the photos below from our crafting fun with Alex Worstell on our Facebook page:
These crafts are always made using a mix of items you may already have around the house. You might have to do a little digging to gather up supplies like I do, but they always come out perfectly!
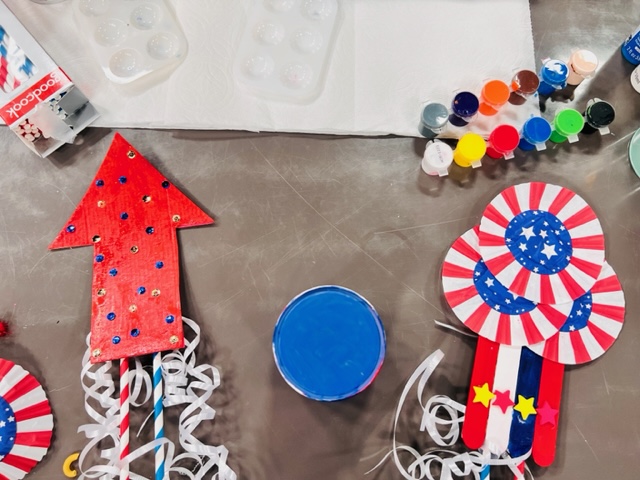 Image by Mia Barletto |
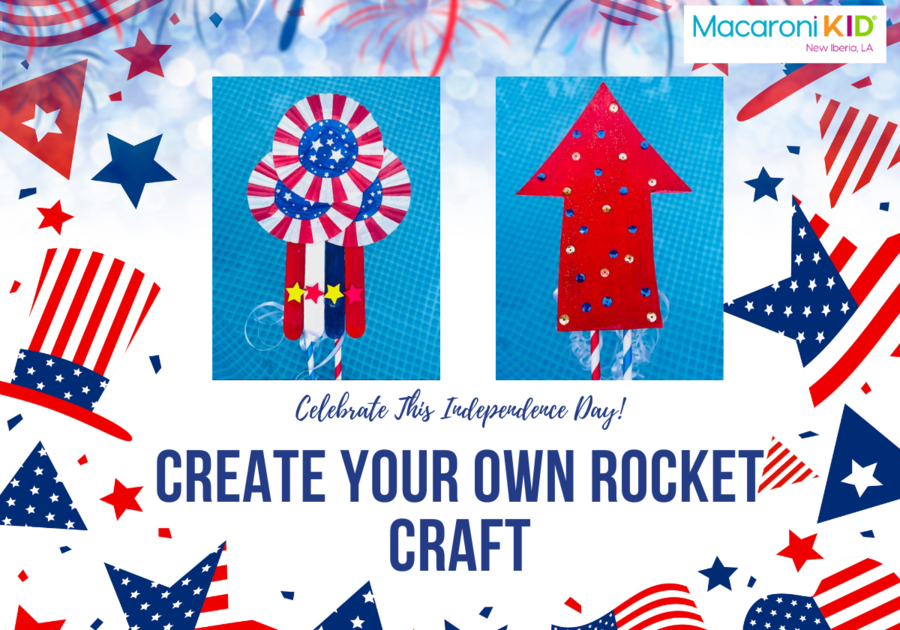
Independence Day Rockets
What you need:
- Paint and paintbrushes
- Glitter glue pens or loose glitter
- Plastic or paper straws
- Thin ribbon
- Small box, like a cereal box
- Glue and tape
- Construction paper, stickers, pom-poms, tissue or gift wrapping paper
- Clean up supplies
Instructions:
You can make these rockets one of two ways. We actually made both for the show. One way you can craft your rocket is to cut out an arrow shape from a small box, like a cereal box or cracker box you have from the kitchen. You can make your arrow as big or as small as you like. You can also use popsicle sticks as the base of your rocket. I suggest using no more than 4 or 5 popsicle sticks if you decide to go that route.
Once you decide which rocket you will create, paint them. We used red, white and blue for a patriotic theme. If you are using popsicle sticks, make sure to paint both sides. If you are using a piece from a small box, you can paint the cardboard side and put construction paper on the back to hide any of the original colors or writing from the box. Let your pieces dry before adding any additional decorations.
For your cardboard box rocket, you can begin adding other decorations like glitter, stickers, or pom-poms to your rocket. If you are using popsicle sticks, you will need to glue them together. To do this simply place them side by side and glue a small piece of construction paper to one side of the sticks. This will be the back of your rocket. Let the glue on the sticks dry completely before adding any additional decorations.
Now that the glue and additional decorations have dried on your rockets, you can begin to add your straws to the back. Simply use glue or tape to secure the straws to the back of your rocket. I will say the paper straws seem to work better so we decide to stick with those. We also got the cutest cupcake papers that were on clearance to decorate one of our rockets.
Next it is time to add the smoke from the rocket! We used white ribbon and taped it to the back of the rockets around the straws once they were dried and securely in place. We cut long pieces of ribbon in half, tied them together and then taped them in place. You can use multiple colors here if you decide. It's totally up to you and your kids! Be creative!
Now you have the perfect decoration for your 4th of July celebrations for the kids!
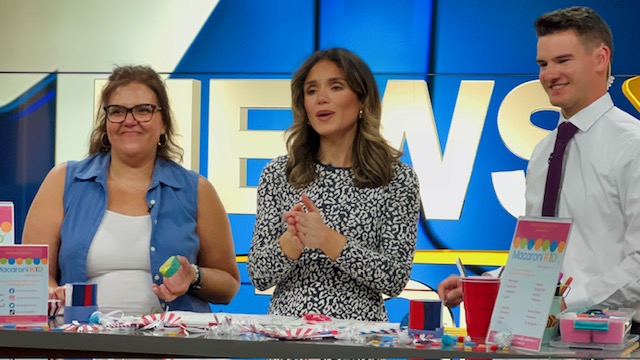 Image by Mia Barletto |
Fireworks are always on the agenda for Independence Day celebrations. We know some of the younger kids may be frightened from the noise or may be to young to enjoy them without being scared. These easy noise makers will allow them to participate in the noise making fun!
Independence Day Noise Makers
What you need:
- Paint and paintbrushes
- Glitter glue pens or loose glitter
- Small can or plastic container
- Glue and tape
- Stickers, pom-poms, and construction paper
- Small items like macaroni noodles, beans, or coins
- Clean up supplies
Take your small container and decorate as you desire. We used a small potato chip can and it worked perfectly! We painted our can with patriotic colors again, blending them as stripes all around the can. You will have to do 2 or 3 coats depending on the material you use and how much writing is on the container.
Once the sides of your container are dry, paint the bottom of the can too. This only took one coat for us. Let your container dry.
Now that your container is dry, add your noise makers to the can and fasten the lid. You can also add any additional decorations of your choice. We decided to make a hat rim around our container to make it look like a Uncle Sam hat. You can tape it or glue it to the can. Let that dry.
Now your kids can shake and make all the noise they want to celebrate the Independence Day holiday!
We hope you and your kids enjoy making these crafts this summer!
Be sure to tune on July 12 from 7:00 am to 9:00 am on News 15 for our next crafting segment.
Happy Independence Day! |  Image Created by Tracie Ysaguire via CanvaPro Image Created by Tracie Ysaguire via CanvaPro |