We officially move into the fall season this weekend and I know many are excited! Fall means cooler temps, trunk or treats, festivals and fairs, and of course many folks love to decorate around the home to celebrate the upcoming months with pumpkins!
Carving pumpkins is always a fun fall tradition for many families but they tend to get messy and may not make it until Halloween if you put them out to early. Well, we found a solution for some super cute pumpkins that kids of all ages will enjoy making this fall!
 September 20, 2023 Image by Mia Barletto |
Paperback Pumpkins
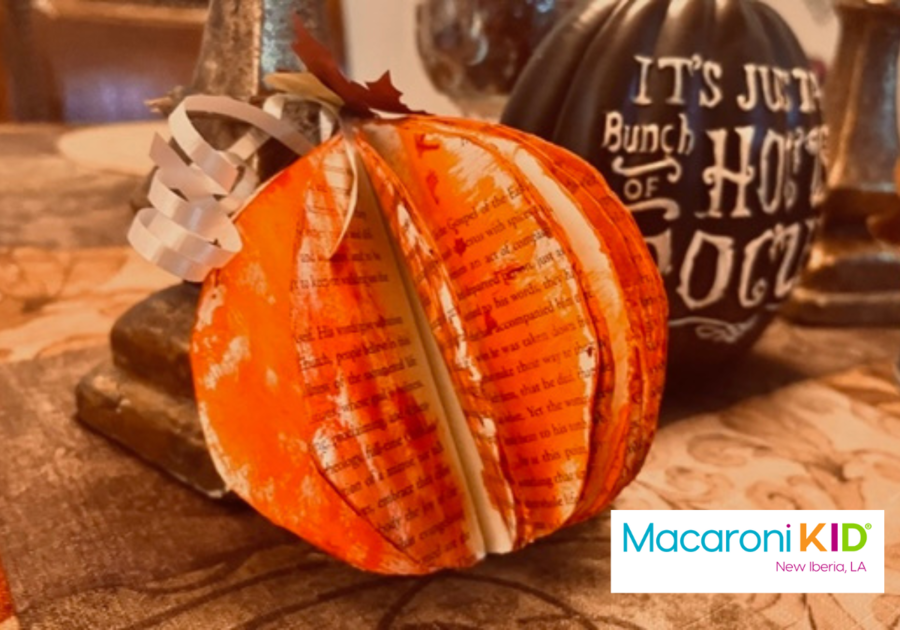
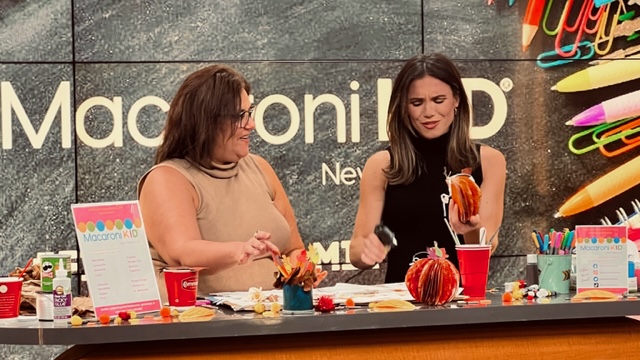
We did our bi-weekly crafting segment this week with Alex Worstell on News 15 Today and made these super cute paperback pumpkins from an old paperback book. I got the idea from Creations by Kara and decided to give it a try putting my own spin on it. Our pumpkins came out so cute that I want to make a few more to decorate around the house. Here is what you need to make your own Paperback Pumpkin this fall.
Supplies You'll Need:
- Paperback book
- Pencil and markers
- Hot glue and/or Elmer's glue
- Scissors and/or exacto crafting knife
- Construction paper and/or paper bag
- Sticks/twigs from around the yard or pipe cleaners
- Ribbons
Step-by-Step Instructions:
First, decide what book you will use. We did two, one using an old children's paperback book that was a little smaller and we also used an adult book. I will say that you could also use a magazine, but it may not hold up as strong as the paperback book.
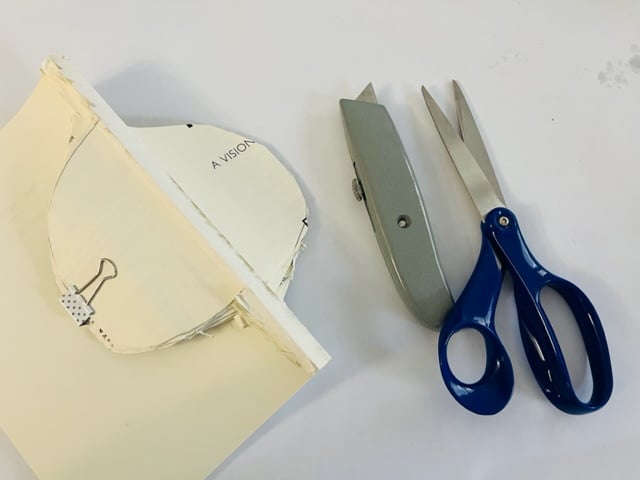
Next, take a piece of construction paper and trace your pumpkin size. You will cut this out and use it as a guide to mark your paperback book. Now take your pumpkin that you drew and place it around the book on the side with the binding. The binding of the paperback is what will hold your pumpkin in place. Trace the shape of the pumpkin on both sides of the book.
 Paperback Pumpkin Craft Paperback Pumpkin Craft Image by Tracie Ysaguire |
Now, begin to cut out around the shape of the pumpkin shape you traced on your book away from the binding. You can simply cut 5 to 7 pages at a time with your scissors leaving the binding in place and ripping out the other pieces of the book as you cut. Watch as Alex and I start our pumpkin craft on News 15 Today below:
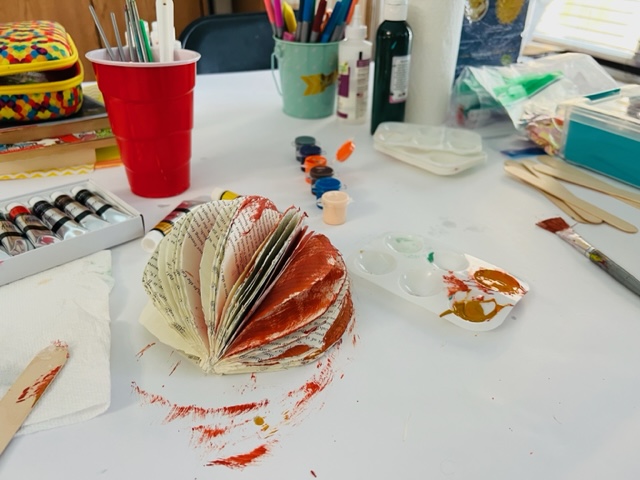
Once you have both sides of the pumpkin cut out, you can use the Exacto craft knife to cut away excess binding that may be sticking out on the edges or trim up around the pumpkin. Now you are ready to fluff your pumpkin! Start crinkling your pages and fluffing them to make the pumpkin appear fuller. You will also glue the last page to the first page. I recommend hot glue but you could also use regular craft glue as well. Let that dry.
 Paperback Pumpkin Craft Paperback Pumpkin Craft Image by Tracie Ysaguire |
Now you can begin painting your pages. We made a mix of fall colors and alternating painting groups of pages with different colors. Some pages will stick together from the paint drying, and that's okay! Once you have enough paint on your pages, let your pumpkin dry.
While your pumpkin is drying, make some leaves or gather whatever other accessories like ribbons or twigs you may want to place on your pumpkin. You can use construction paper and draw your leaves, or even use an old paper bag.
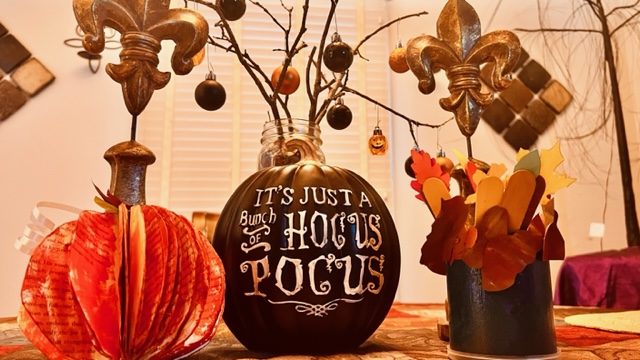
Get your pumpkin now that it's dry and begin to glue your stem on the top. Then you can add your leaves and ribbons. Now you have a cute pumpkin to add to your fall décor that is sure to make it to Halloween!
 Paperback Pumpkin Craft Paperback Pumpkin Craft Image by Mia Barletto |
We always have so much fun with these guys! Join us on News 15 Today for our next crafting segment with Alex Worstell on Wednesday, October 4, 2023, 7:00 am to 9:00 am as we celebrate spooky season with fun Halloween crafts!
You can also catch the live stream of News 15 Today online. Or, catch up on all of our past crafting segments with News 15 Today on their You Tube Channel.
Happy Crafting Acadiana! |


