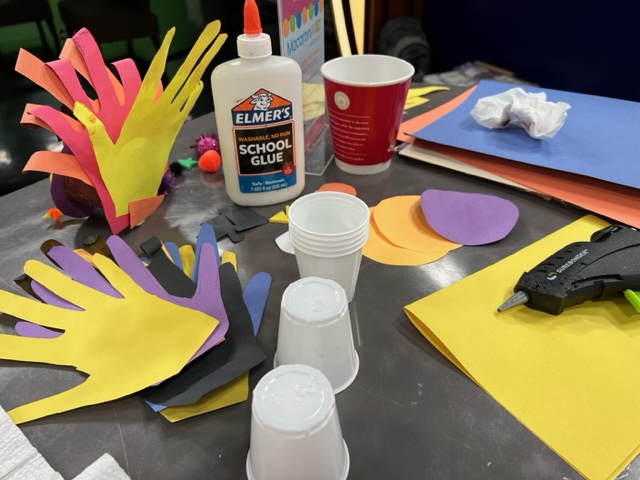
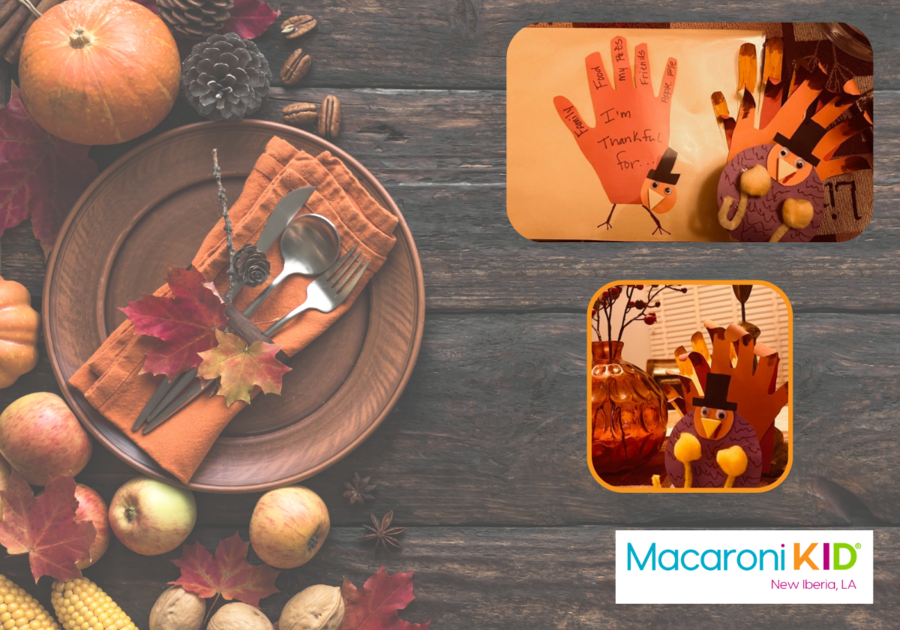
One of my favorite crafts from Good Day Acadiana with Alex Worstell was creating these Thankful Turkeys. With the Thanksgiving holiday right around the corner, we wanted to find make something fun that would include the kids with the holiday decorating for the Thanksgiving table.
Thankful Turkeys
I came up with two, easy crafts basically using the same items for the kids to make. This Thankful Turkey craft will keep the kids engaged while the parents are busy cooking and prepping in the kitchen. They can also help teach the kids about gratitude and what to be thankful for this holiday season.
Supplies You'll Need:
- Small plastic or paper bathroom cups
- Paint and brushes
- Markers, crayons, and pencils
- Construction paper and/or other decorative paper
- Scissors
- Hot glue and/or Elmer's glue
- Stickers, glitter, pom-poms, sequins, seeds, or other small items
- Clear plastic cover
Step-by-Step Instructions:
First, paint your small cup. We did a mix of the traditional fall colors to make the body of the turkey from the small plastic cup. If you do use the plastic cups they need more than one coat. Once you have that painted, put it aside to dry. If you want to add any glitter or other decorative items to the cup, do that once your paint is dry.
Next, get your pencil, construction paper and scissors ready. Have the kids trace their hands. You can get everyone in the family to participate in this part. You will want to have as many hands as you can for each of these crafts. I recommend doubling up on the construction paper when you do the tracing, so when you cut them out, you will have extra "feathers' or hands to use for your craft.
 November 15, 2023 Image by Mikayla Barletto |
Now you need to create the base for the backend and the head of your turkey. We used a coffee cup and traced different sized circles. You will want three different sizes: small, medium, and large. The largest circle should be on the backend of the turkey. This is where you will glue the "feathers" or hands you traced to the back. The other two smaller circle will create the head of the turkey. Next, glue the circles in place on the cup. Put those aside to dry.
Scissors are next on the list as you want to start cutting out the hands you traced. Once you have the hands cut out, you can paint the fingers to make them flare up a bit. But be careful not to put to much paint. You can also add decorative things like sequins, or painted seeds, or other items you have. Once your "feathers" are dry, glue them to the back of your turkey. You can add more than one hand for your feathers to give your turkey extra flare.
The kids can make one or as many of the turkeys as you want. You can use them as a place setting and add the names to them for your holiday meal. The kids will feel important and included in helping to create holiday magic this Thanksgiving for the family.
November 15, 2023 Image by Mikayla Barletto |
Thankful Turkey Placemats
The placemats are really simple and will use the same materials as the turkeys.
Take some of the hands you traced and have the kids write five things they are thankful for on the fingers. They can even make placemats for relatives or out of town family members and list five things they love about them.
These little placemats will be perfect for desserts, but I wouldn't put any hot plates on them. And after you celebration is done, the family members will have an awesome keepsake to remember their holiday.
You can always catch our past crafting segments with Alex on News 15 Today on their You Tube Channel!
Happy Crafting Acadiana! |


