I can't believe we've already turned the corner into December and are wrapping up the final days of 2024.
When I was first asked to join Good Day Acadiana in February 2023, I would have never guessed that it would have turned into a permanent spot for the rest of the year. I loved coming up with the crafts for the show to share with our followers and friends of Macaroni KID New Iberia. We did this fun holiday craft in the studio with Alex Worstell to get into the holiday spirit. Check out the video of in studio with Alex to see what we made:
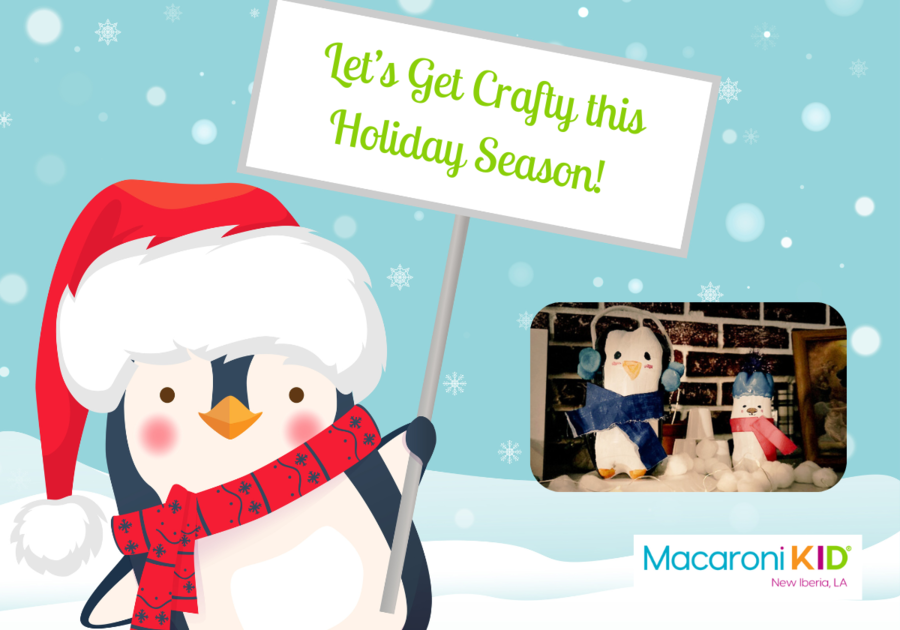
Holiday Penguins
I originally saw this on Craftberry Bush and decided to put my own Macaroni KID spin on it! We had a few 2-liter bottles left from the Thanksgiving holiday so I knew this would be the perfect craft to try.
Supplies You'll Need:
- Two, empty, clean, 2-Liter or 16 oz. soda bottles
- Paint, brushes, markers
- Hot glue and/or Elmer's glue
- Craft knife and scissors
- Old socks, cloths, or clothing
- Stickers, glitter, pom-poms, sequins, seeds, or other small items
Step-by-Step Instructions:
First make sure to clean out the inside of your bottles and pull off any labels. You can put them aside to dry for a bit.
Next, you will cut both bottles in half, making sure to cut about five inches above the lower rim. It is important to use the bottles with the ridges on the bottom as they will add to the character of your holiday penguin.
 November 29, 2023 Image by Tracie Ysaguire |
Now, use craft knife to cut both bottles and take each of the bottom halves (the piece with the ridges) and glue them together. You can use hot glue around the rim and even some scotch tape if necessary to hold them together. Once you have each piece secure, you are ready to paint your holiday penguin.
I started with a layer of white around the entire bottle on both the top and the bottom as well. I actually had to do a couple of layers until I got it to the consistency that I liked. Now put that aside to dry.
Once your layer of white is completely dry, now you can begin to paint the the bottle black to form the body of the penguin. You will want to leave the front section white to make the face and add your winter accessories later. Again, you will probably need a couple of layers of black to get to the desired consistency. Let that dry.
Now that your penguin is dry, you can create the face. Draw the eyes with marker, or paint. You can even add some googly-eyes for fun! You can paint a winter hat, or if you have an old child's hat use that. I used pipe cleaners and pom-poms to make ear muffs for my penguin. I also gave him a scarf using some old scrap cloths from my craft collection. But you can use old socks or other winter clothes that the kids have outgrown. It is really up to you!
We decided my holiday penguin was lonely so my daughter Mia and I decided to make a friendly polar bear with the 16 oz. soda bottle. I painted on his winter hat and added a pom-pom for the top, and used some ribbon for a scarf. Mia wanted to create a winter scene so she added some cotton balls and used small, white bathroom cups as ice stacks!
 Holiday Penguin Craft Holiday Penguin Craft November 29, 2023 Image by Tracie Ysaguire |
You can always catch our past crafting segments with Alex on Good Day Acadiana on KADN News 15 Today
on their You Tube Channel!
Happy Crafting Acadiana! |


